OceanInsight USB Spectrometers#
Techniques#
Basic Absorbance#
Ensure that the spectrometer is plugged into a power outlet.
Important
This step must always be performed first to avoid damaging the instrument.
Plug the USB cable from the spectrometer into the computer.
Note
If you have the newer-model FLAME UV-Vis, make sure to turn on the small power switch on the front of the spectrometer.
Open OceanView from the desktop (
 ).
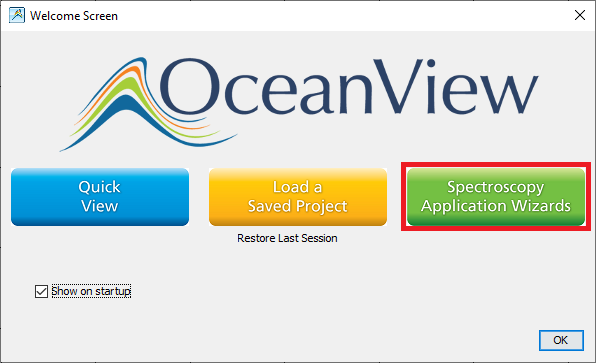
).A Welcome Screen should appear. Click on “Spectroscopy Application Wizards”.
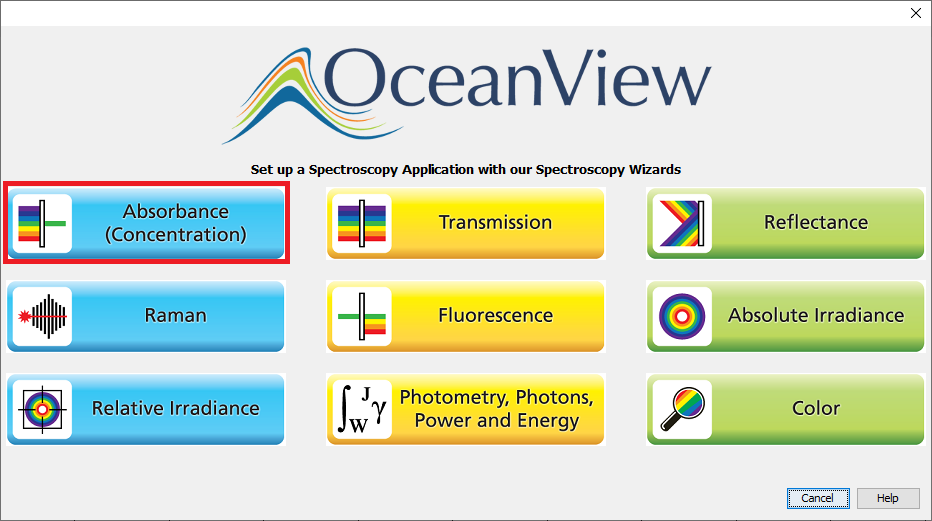
Select “Absorbance (Concentration)”.
Select “Absorbance only” and then Next.
Insert a blank cuvette containing either water or the solvent you will be using. Make sure the cuvette was cleaned of all fingerprints!
Important
If your cuvette has frosted sides, be sure that the transparent sides are in line with the source and detector.
Set your acquisition parameters.
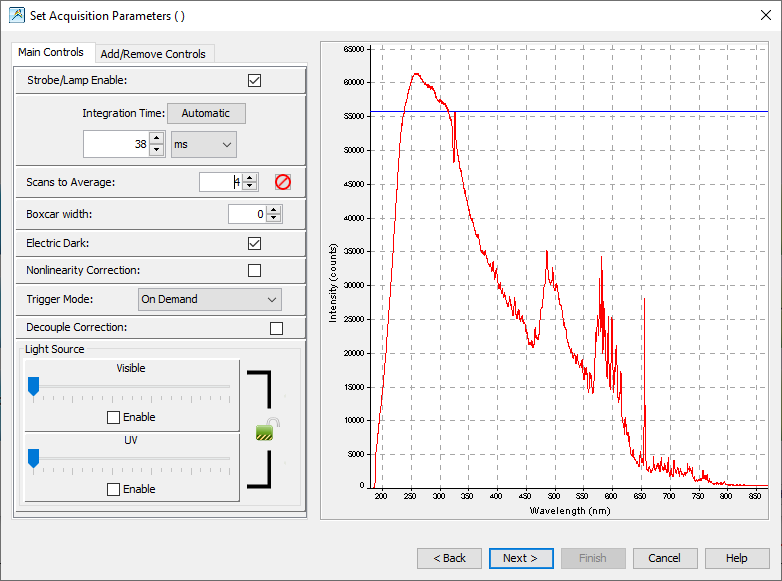
Check the Strobe/Lamp Enable checkbox. This turns on the lamp. You should now be able to view the detector input on the right.
Most likely, your input will be saturated. Lower the integration time until the entire spectrum fits on the screen. The software will give you a message when your spectrometer is in range.
If you notice that your spectrum is “bouncing”, increase the scans to average. I recommend a value of
4.Click Next.
Click the large yellow light bulb to store your reference spectrum. This is your 100 % transmittance spectrum. Click Next.
Turn off the lamp by unchecking the Strobe/Lamp Enable checkbox. Then, click the gray light bulb to store your dark spectrum. This is the 0 % transmittance spectrum.
Tip
Remember to turn the lamp back on before clicking Finish!
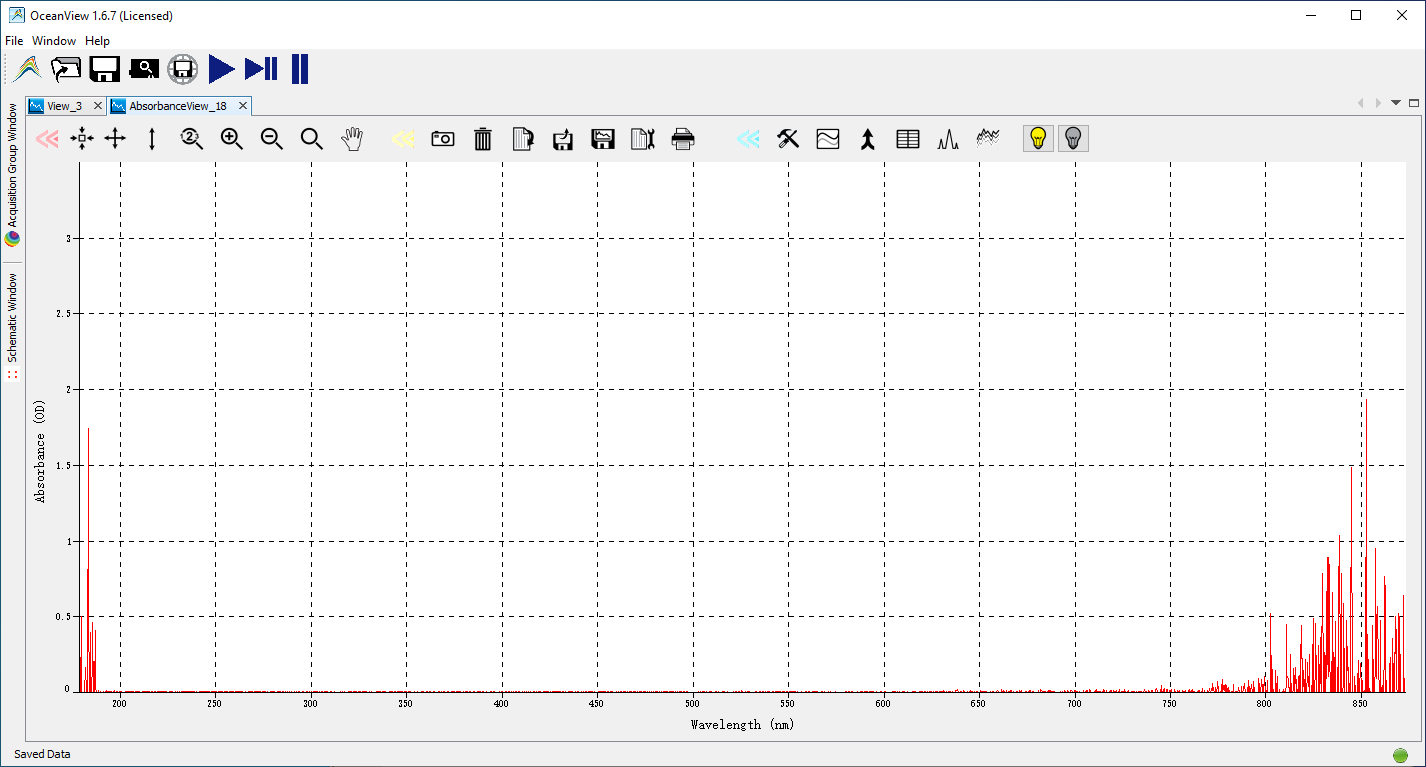
The software should send you to a view window. Note that this is the raw detector input. To monitor absorbance, switch to the absorbance view by clicking on the tab near the top of the screen.
Configure your save data location by clicking the
 icon.
icon.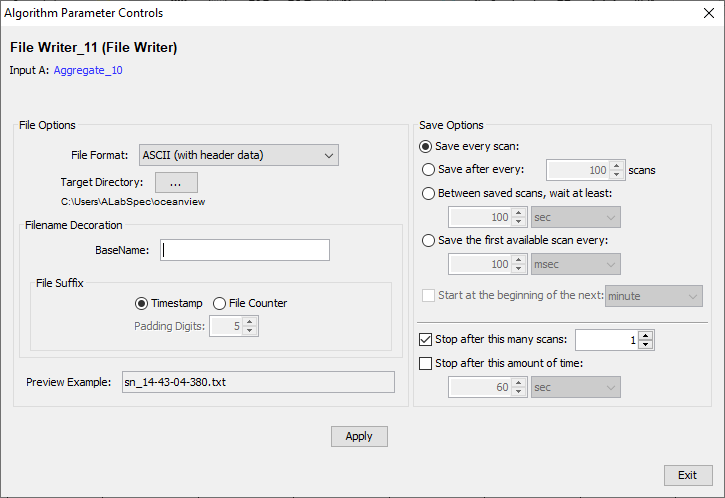
Make sure that the file format is “ASCII (with header data)”.
Note the “Target Directory”. This is where your data will be saved. You may change this if desired to your own custom folder. Just make sure to remember where your data is being saved!
You can change the format of the filename under Filename Decoration.
When you are finished, make sure to click Apply and then Exit.
Warning
Flash memory has a tendancy to fail. Save to the computer first and then copy to a USB flash drive.
When you have a spectrum you would like to save, press the
 icon. This icon will turn red and a
message “File saving in progress” will appear at the bottom of
the screen. Make sure that this disappears before removing the
cuvette with the sample in it!
icon. This icon will turn red and a
message “File saving in progress” will appear at the bottom of
the screen. Make sure that this disappears before removing the
cuvette with the sample in it!Continue recording spectra as necessary. You may click on the graph to obtain the absorbance value at a specific wavelength.
When finished, close the software, copy your data to a USB flash drive, and log out of the computer.
DH-mini Dip Probe#
Note
Since new software was installed to replace the old SpectraSuite, the following instructions are outdated. The general setup should still be the same.
Startup#
Turn on the power switch on the back of the DH-mini.
Push “TTL/Manual” — The LED should turn off indicating that the light source is in manual mode.
Push “On/Off Deuterium” — The LED should turn on indicating that the UV light source is on.
Open SpectraSuite from the desktop.

Tip
Minimize “Data Views” section if it is too large.
Set the Boxcar averaging to
4to reduce noise.Immerse the dip probe in your solution. Ensure there are no air bubbles in the sensing window.
Swirl your flask vigorously to remove any bubbles.
Position the dip probe so that it does not get hit by the stir bar. You may need to angle the probe.
Collect a “Dark” spectrum by clicking the dark lightbulb (
 ) — this serves as your 0 %T spectrum.
On the DH-mini, push “Open/Close Shutter” — The LED should turn on indicating that the shutter is open.
Adjust the integration time so that the spectrum is at its maximum intensity without being cut off.

Close the shutter and retake a dark spectrum.
Open the shutter. Once the spectrum is stable, collect a “Light” spectrum by clicking the light lightbulb (
 ) — this serves
as your 100 %T spectrum.
) — this serves
as your 100 %T spectrum.Select absorbance mode (
 ).
).Select Strip Chart (
 )
)Select “Update every scan”
Select “Pause until started by user”
Select “Stop after” and enter
4 minutes.Change the range to monitor one wavelength:
420 nm
Analysis#
When ready to collect data, press the start button.
When complete, be sure to save your data.
Click the save icon (
)Browse to a folder on the computer
Warning
Save to the computer first and then to a flash drive. Flash drives are prone to errors, so we want to make sure you have a backup!
Give the file a recognizable name.
Click save, select the “Trend” you wish to save, then press save again.
You should get a message saying that the file was saved. If so, close the window.
Remove the dip probe and rinse thoroughly with deionized water before switching to your new sample.
When you immerse the probe in your new sample, you should switch back to “Graph A” and check to make sure your baseline is at
0. You may need to retake your dark and light spectra.Press the “Clear” button and then “Restart trend” to run another measurement.
Shutdown#
Ensure all data has been saved to a location that you can find on the computer.
Copy the data from the computer to a USB drive (or email to yourself, upload somewhere, …)
Push “On/Off Deuterium” to turn off the deuterium lamp.
Important
Do not turn off the main power switch. The box must be left powered on to cool.
Close the SpectraSuite software.
Log out of the computer.