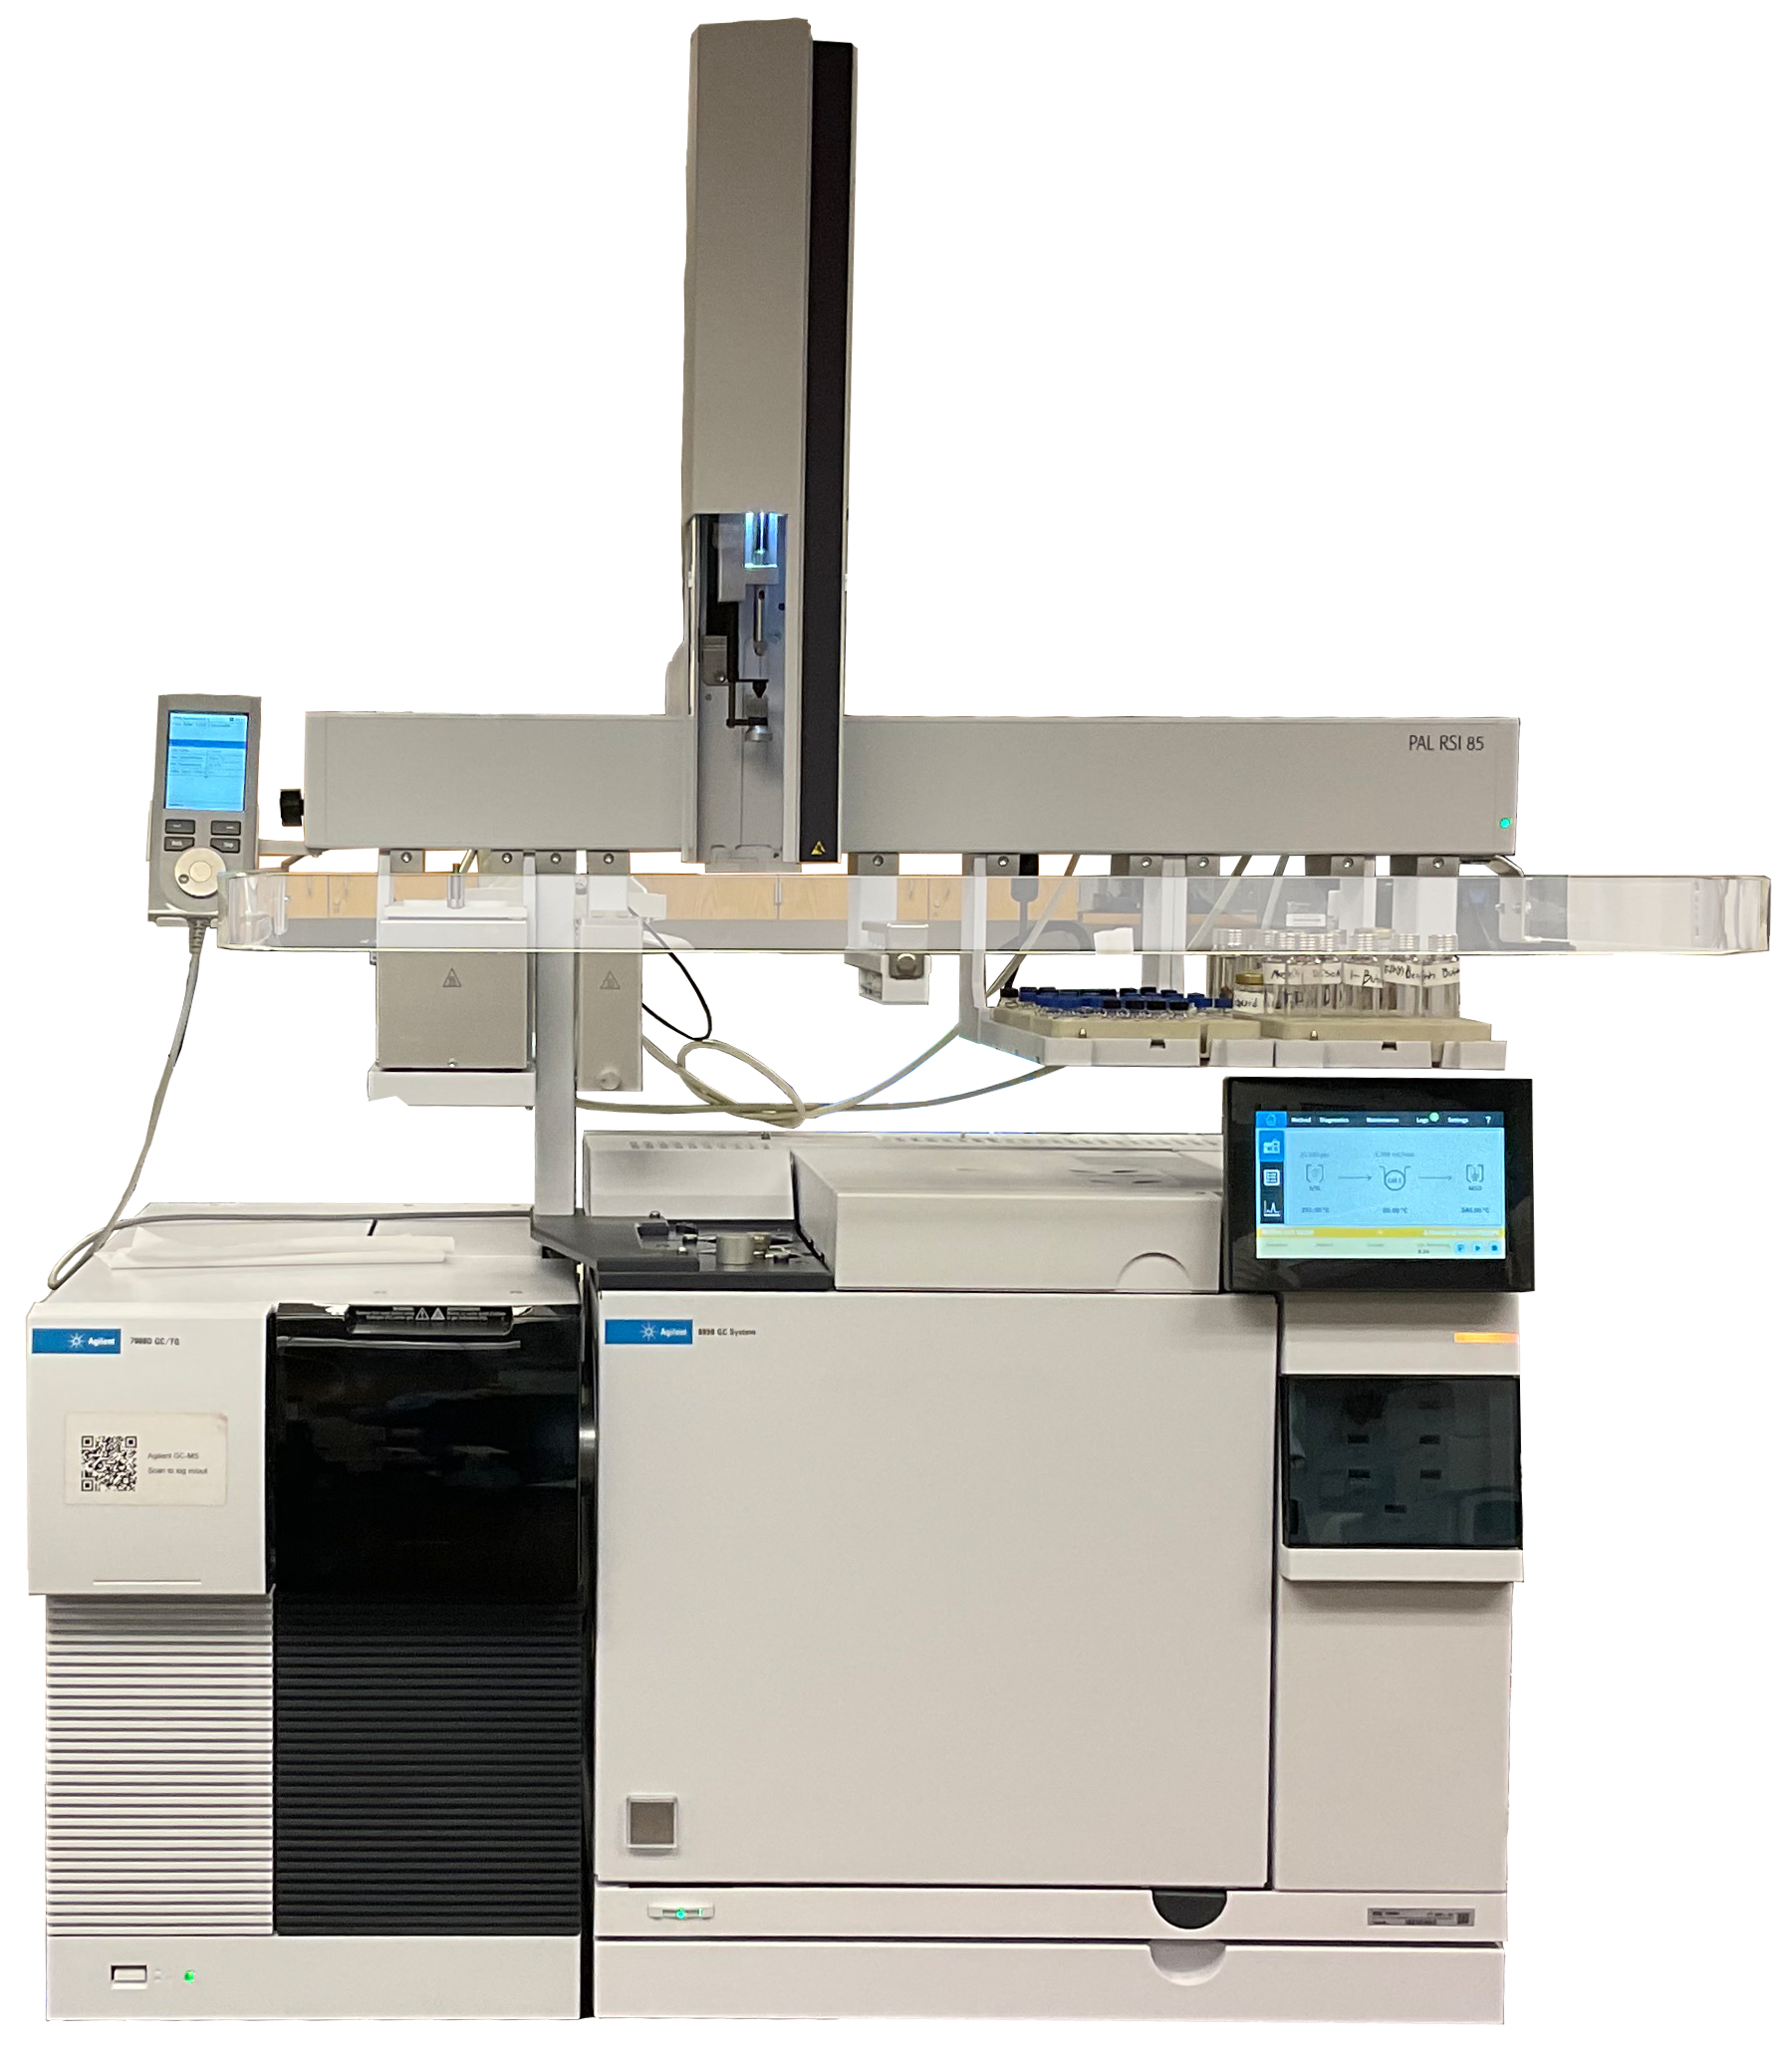
Agilent 8890 GC-MS#
The Agilent 8890 GC is interfaced to a 7000D triple quadrupole mass analyzer. A PAL autosampler is installed capable of liquid, headspace, and SPME sample introduction.
Gas chromatography–mass spectrometry is an analytical method that combines the features of gas-chromatography and mass spectrometry to identify different substances within a test sample. Applications of GC-MS include drug detection, fire investigation, environmental analysis, explosives investigation, and identification of unknown samples.
Procedure and Set-Up#
Note
If using the PAL, be sure that the correct attachment is installed.
The GC-MS must remain under high vacuum, so it is always on. Open the Agilent GCQQQ software.
Prep your samples in the correct GCMS vials (the super tiny ones with the blue lids!). Make sure you take note of where they are placed. the tray numbers run back to front. Trays 1-3 are on the left and trays 4-6 are on the right. This means tray 3 is the closet to you when looking at the instrument. Also, take note of the number of the hole each vial is placed in. The numbers are above the holes, not below. The entire analysis will stop if a sample is not registered because the wrong location was entered.
To start the method set up do the following: . This will then walk you through the entire GCMS allowing you to edit and note all of its parameters for the experiment.
Once all the “okays” have been pressed from the step above, ensure that “GC-LIQ-STD-V4.2” is clicked. This should be relatively close to the top of the screen.
Walking through the first page, make sure the GC cycle time is 11 minutes, washes with solvent is at a 1:3 ratio, and your sample was is 1. Once these parameters are applied, push “ok” NOT apply.
You are now looking at the “oven” portion of your GC method set-up. Under the side tab “inlets” keep all the parameters the same.
Run this run in split mode which dilutes your sample 100x. This step is only for the stock cocaine. You will have to return here to take split mode off and change to splitles for the remainder of your runs.
Note
The proper injection method is determined by the nature of the sample. A pulsed splitless flow may be appropriate when the headspace attachment is used because the injection method decreases the amount of sample lost during introduction.
Under the colums side tab, ensure you have 2x 15 m colums and keep the paramters the same.
Under the columns side tab, proceed with the following: . The collison cell blows the sample apart with gases.
Under the oven side tab, keep all parameters the same and ensure that the oven is set not to exceed 350ºC.
Under the Aux Heater side tab, make sure the temperature is set to 250ºC.
Tip
Or to the boiling temperature of the target analyte (as long as the temperature does not exceed 325˚C because the GC cannot hold above this temperature)
Under the Signals side tab, basically ignore everything. We will not have any as there isn’t a flame, and we are using mass spectrometry.
I think that’s all the tabs McCurry has you worry about… once these are all checked proceed to “ok” and “ok” once again.
You are now looking at the mass spec analysis portion of the GCMS method set-up.
Under solvent decay, ensure the time is set to 2 minutes. The second group changed this to 3 minutes (it is all in what you choose is best for the MS deetector). This allows for the preservation of the life of the detector.
Keep the source parameters all the same and ensure “MSL” is kept.
The gain should be 1 and data save “on”.
Under scan segment: cocaine 40-320, scan time 272, data sample 6, and threshold 100.
Tip
Set the expected mass of your analyte to be between 40 (to reduce the number of unwanted compounds reported if the analyte is large) and the molar mass of the analyte.
Then proceed with .
Now your are ready to run the sample. Click the big arrow at the top of the screen. Be patient as the instrument may need to warm up more to get optimal oven temperature or inlet temperature to allow your solution to become gaseous.
Type your name in under Operator Name (if you would like to leave Operator Name blank you may). For Data Path, click Browse. Save your data under
D:/MassHunter/GCMS/1/data/**put your file name here**. Name your data file something fun and interesting and make sure it ends with “.D”. Press “ok run”.It may appear as if nothing is happening at all as it warms up. Please be patient. The PAL autosampler will play some sick tunes right before it’s about to move.
Now that the “pure cocaine” has been run through, here is where you go back and change “split mode” to “splitless”.
once on home screen: .
once your samples are done running (which unfortuneatley takes a HOT minute) you can open qualitative analysis where you can see what compounds the GCMS has detected.
find .
.
make sure you ignore retention time (I think theres a box somewhere… idk McCurry flew through this).
and heres where it got super ugly! hope it works so McCurry doesnt have to come over and mess with it for 10 minutes like he did for Jagger and Tucker.
Once the compounds have magically appeared, delete the small and irrelivant ones so your data work-up doesnt come out to be 90 pages.
Note
The cocaine peak may be super small so you may want to zoom in to see it. Look for cocaine at the retention time that pure cocaine appeared.
you can right click and delete the ones that were not identified and if you click on one then hold Shift and click on another one further down, it will select all of them to make it easier
The printer doesnt work (shocker), so “print” your data files as PDFs and put ’em on your flash drive.
Hint
theres a whole lotta information and steps that the GCMS has and McCurry will walk you through, too!
If you are the last person using the GC-MS, go to Method and load the
standby.Mmethod (just look through the drop down menu as it should have recently been used).
Shutdown#
Important
When finished using the instrument, be sure to set the method to standby.M.